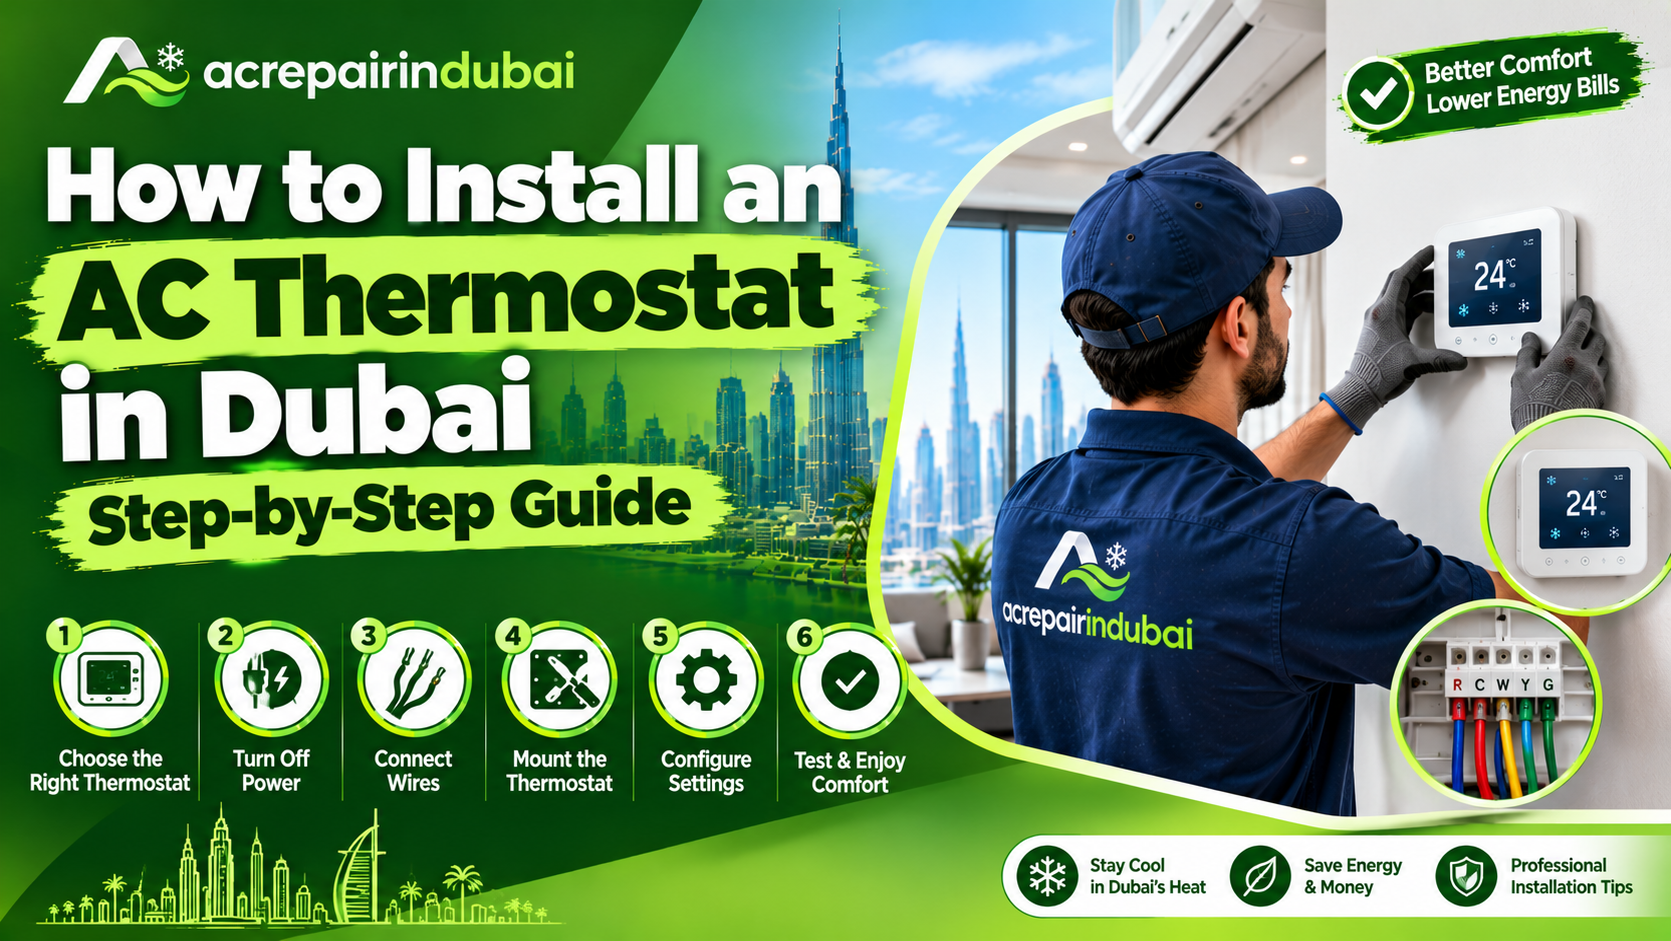
A faulty or outdated AC thermostat can make your home too cold, too warm, or push up your DEWA bill without you noticing. Replacing it is one of the simplest upgrades you can make, but thermostats in Dubai work differently from the ones you see in most online videos.
Most guides online are written for American homes, where thermostats run on low 24V power. In Dubai, many apartment thermostats run on full 230V mains power and control a fan coil unit connected to central or district cooling. That means the wiring, the safety steps and the type of thermostat you can buy are all different.
This guide explains how to install an AC thermostat in a Dubai apartment or villa, step by step. If you’d rather have a qualified technician handle the wiring, our AC installation service in Dubai includes thermostat replacement and upgrades.
Safety first: Most thermostats in Dubai apartments carry 230V mains electricity. If you’re not comfortable working with live wiring, hire a qualified technician. If you’re renting, check with your landlord or building management before replacing any fixed equipment.
Step 1: Find Out What Type of AC System You Have
The thermostat must match your AC system. In Dubai, you’ll usually find one of these:
| AC System | Where You’ll Find It | Type of Thermostat |
| Chilled water fan coil unit (FCU) | Most towers on central or district cooling | 230V FCU thermostat controlling fan speed and a valve |
| Ducted DX split | Many villas and townhouses | Wired controller made by the AC brand |
| Wall-mounted split AC | Apartments and bedrooms | Usually a remote; a wired controller is optional |
| VRF / VRV system | Larger villas, offices | Brand-specific wired controller |
How to tell: – If you pay a separate cooling bill (for example, to a district cooling provider) and have ceiling vents, you most likely have a chilled water FCU system. – If your villa has an outdoor unit for each zone, you most likely have a ducted DX split system, which uses the manufacturer’s own controller.
This guide focuses mainly on FCU thermostats, which are the most common in Dubai apartments. For ducted DX and VRF systems, you’ll usually need the controller from the same brand as the indoor unit.
Step 2: Choose the Right Thermostat
For FCU systems, check that the new thermostat matches:
- Voltage: usually 230V AC in the UAE
- Pipe system: 2-pipe (cooling only, most common in Dubai) or 4-pipe (cooling and heating)
- Fan control: usually 3-speed (high, medium, low), or an EC fan with 0–10V control in newer buildings
- Valve type: on/off (2-wire or 3-wire actuator) or modulating (0–10V)
- Back box size: most UAE wall boxes are the square British-style type, so pick a thermostat that fits
Smart thermostats: Many popular smart thermostats are designed for 24V American systems and won’t work directly with Dubai FCU systems. Look for smart thermostats made specifically for 230V fan coil units. Many offer Wi-Fi, app control and scheduling.
Step 3: Pick the Right Location
If you’re replacing an existing thermostat, the easiest option is to use the same wall box. If you’re installing a new one, or moving it, place it:
- On an inside wall, about 1.5 metres from the floor
- In the main area of the room it controls
- Away from direct sunlight, windows and glass walls
- Away from AC supply vents, which would make it read too cold
- Away from the kitchen, lamps, TVs and other heat sources
- Not behind curtains, doors or furniture
A thermostat in the wrong spot gives false readings. One placed in direct afternoon sun, which is common in Dubai apartments with glass walls, will think the room is much hotter than it is and overcool the space.
Tools You’ll Need
- New thermostat and its wiring diagram
- Small flat and Phillips screwdrivers
- Voltage tester (non-contact tester or multimeter)
- Phone camera
- Masking tape and pen for labelling wires
- Wire strippers (if wire ends need trimming)
Step 4: Switch Off the Power
- Go to your distribution board (DB) and switch off the breaker for the AC or fan coil unit. Breakers are often labelled “FCU”, “AC” or by room name.
- If you’re not sure which breaker it is, switch off the main breaker for the apartment.
- Go back to the thermostat and confirm the display is off.
Always test the wires with a voltage tester before touching them. Some buildings supply the FCU from a separate circuit, so the thermostat may still be live even after you switch off one breaker.
Step 5: Remove the Old Thermostat
- Remove the front cover. Most thermostats unclip or have a small screw at the bottom.
- Unscrew the thermostat from the wall box so you can see the wiring.
- Take a clear photo of the wiring before disconnecting anything.
- Label each wire with tape, matching the terminal letter it was connected to (for example L, N, H, M, Lo, V).
- Test again with the voltage tester to confirm there’s no power.
- Disconnect the wires.
Step 6: Understand the Wiring
Terminal labels vary by brand, but a typical 2-pipe FCU thermostat has these connections:
| Terminal | What It Connects To |
| L | Live (230V supply) |
| N | Neutral |
| H / FH | Fan high speed |
| M / FM | Fan medium speed |
| L / FL (or Lo) | Fan low speed |
| V / V1 | Valve open (cooling on) |
| V2 | Valve close (only for 3-wire valves) |
Some thermostats also have terminals for a room sensor, a window or key-card contact (common in hotel apartments), or a BMS connection in buildings with a central management system.
Important: Always follow the wiring diagram supplied with your new thermostat. Never assume the terminals are in the same order as on the old one.
Step 7: Connect the New Thermostat
- Fix the new mounting plate to the wall box using the supplied screws.
- Connect each wire to the correct terminal, following the new thermostat’s diagram and your labels.
- Make sure each wire is tightly secured, with no bare copper showing outside the terminal.
- Fold the wires neatly back into the wall box, without forcing or pinching them.
- Attach the thermostat body to the mounting plate and fit the cover.
Step 8: Restore Power and Set Up
- Switch the breaker back on.
- The thermostat should power up. If the display stays blank, switch the power off and check the L and N connections.
- Go through the setup menu:
- Set the mode to cooling (or auto for 4-pipe systems)
- Choose the valve type if asked (on/off or modulating)
- Set the temperature unit to °C
- Adjust the temperature calibration if the reading seems off
- Set schedules if it’s a programmable or smart model
- Connect to Wi-Fi and the app if it’s a smart thermostat
Step 9: Test Everything
- Fan speeds: Switch between low, medium and high and listen for the change at the vent.
- Valve: Set the temperature a few degrees below the room temperature. You should hear the valve click open, and the air should turn cold within a few minutes.
- Cut-off: Set the temperature above the room temperature. The valve should close and the air should stop being cold.
- Reading: Compare the thermostat’s room temperature with a separate thermometer.
If the fan runs but the air isn’t cold, the valve may be wired wrongly, the actuator may be faulty, or there may be no chilled water supply. Read our guide on how to fix common AC cooling problems for more checks.
Installing a Thermostat for a Ducted Villa AC
For villas with ducted DX split units, the thermostat is usually a wired controller from the AC manufacturer, such as Daikin, Mitsubishi, Carrier, LG or Gree. These controllers:
- Use low-voltage communication cables, not 230V
- Must be compatible with the indoor unit model
- Are wired to a specific terminal on the indoor unit’s control board
Generic thermostats usually won’t work with these systems. If you want smart control, ask about the brand’s own Wi-Fi adapter, or a smart interface designed for that brand.
For more on villa systems, see our central AC repair guide for Dubai.
Best Thermostat Settings for Dubai
- Cooling temperature: Around 24°C is a good balance of comfort and running cost in Dubai.
- Avoid very low settings. Setting 16–18°C doesn’t cool the room faster. It just makes the system run longer and use more electricity.
- Fan speed: Use auto or medium for steady comfort. Use high only to cool a hot room quickly.
- Schedules: Raise the temperature by 2–3°C when you’re out at work, instead of switching the AC off completely in summer.
- Night mode: Raising the temperature slightly while you sleep saves energy without affecting comfort.
Common Thermostat Installation Mistakes
- Not testing for voltage before touching the wires
- Buying a 24V smart thermostat for a 230V FCU system
- Mixing up fan speed wires, so the fan runs at the wrong speed
- Wrong valve wiring, so the valve never opens or never closes
- Mounting the thermostat in direct sunlight or next to a supply vent
- Loose terminal screws, which can cause sparking and overheating
How Much Does Thermostat Installation Cost in Dubai?
Typical prices:
| Item | Typical Cost |
| Basic FCU thermostat (unit only) | AED 80 – 250 |
| Programmable or smart FCU thermostat | AED 300 – 1,000 |
| Labour to replace an existing thermostat | AED 100 – 250 |
| New thermostat location (new wiring) | Quote-based |
For full AC pricing, see our AC repair cost in Dubai guide.
Frequently Asked Questions
Can I install an AC thermostat myself in Dubai?
If you’re confident with electrical work, replacing an existing thermostat with a compatible model is possible. Most Dubai apartment thermostats carry 230V, so switch off the power and test before touching any wires. If you’re unsure, or renting, use a qualified technician and get the landlord’s approval.
Will a Nest or Ecobee thermostat work in my Dubai apartment?
Usually not directly. These are designed for 24V systems, while most Dubai fan coil units run on 230V. Look for smart thermostats made specifically for 230V fan coil units.
Why is my thermostat on but the AC isn’t cooling?
Common causes are a faulty valve actuator, wrong valve wiring, a tripped FCU breaker, or a problem with the building’s chilled water supply. A technician can check each one.
Where should an AC thermostat be placed?
On an inside wall, around 1.5 metres from the floor, away from sunlight, supply vents, windows and heat sources.
What temperature should I set my AC to in Dubai?
Around 24°C is a good balance of comfort and running cost. Lower settings don’t cool faster and only increase your electricity bill.
How long does it take to replace an AC thermostat?
Replacing an existing thermostat usually takes 30 minutes to 1 hour, including setup and testing.
Get Your AC Thermostat Installed Safely
A new thermostat can improve comfort and lower your cooling costs, but only if it’s compatible and wired correctly. Our technicians replace and upgrade AC thermostats across Dubai, from basic FCU thermostats to smart Wi-Fi models and brand controllers for ducted villa systems.